How to issue or renew an SSL certificate at StartSSL
StartSSL is a service run by StartCom to issue SSL certificates of different kind. It is one of the biggest CA in the world. The big deal of its offer is Class 1 certificates issued for free. They do not support wildcards and last only 1 year, but hey it won’t cost you a cent!
There are many reasons for going HTTPS, even for your small personal website. Your visitors will appreciate it. I’ve found it useful but not very intuitive. Many articles refer to old StartSSL user interface so I decided to stremline the process by writing a guide to help people getting started.
In the steps below, yourwebsite can be something like yourdomain.com or stuff.yourdomain.com. So you can issue certs for third level domains for free as well. Free certificates do not support wildcards and last 1 year but you can issue multiple ones, one per domain.
Generate the key
First of all, login as root into the server.
openssl genrsa -des3 -out example.com.key.enc 4096
About the command above:
-
-rand/var/log/messagesis used for some randomness -
-des3to protect our key -
4096is good. 8192 is plain CPU waste and not even all the certificate providers support it.
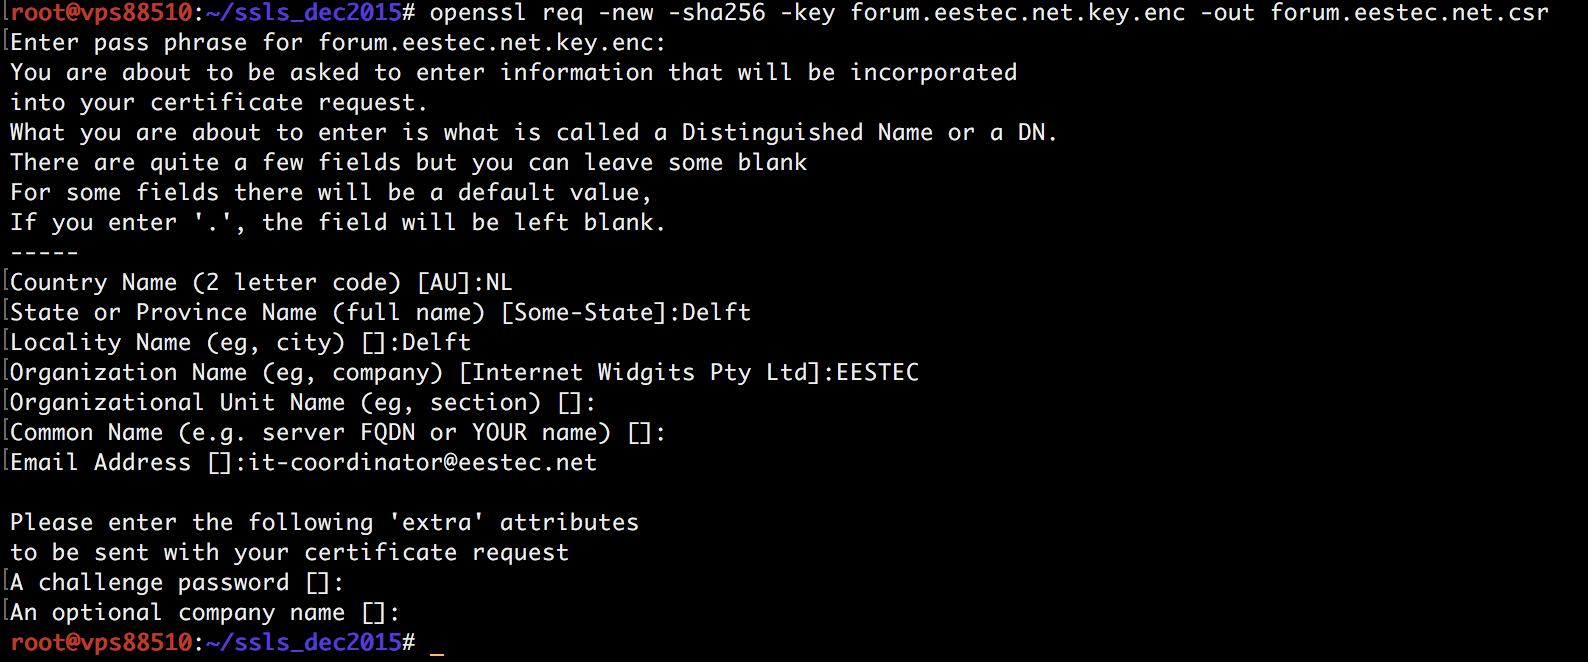
Generate a CSR (certificate signing request)
# openssl req -new -sha256 -key example.com.key.enc -out example.com.csr
Insert the password you used before and type the requested info (you can find an example below).
Getting the cert
Login to startssl.
You will need S/MIME certificate installed in your system. This cert is provided during the signup process.
If you are requested to verify your email, do that. If you have verified your email since the last 30 days you will not be prompted to. After this step you can continue following this tutorial.
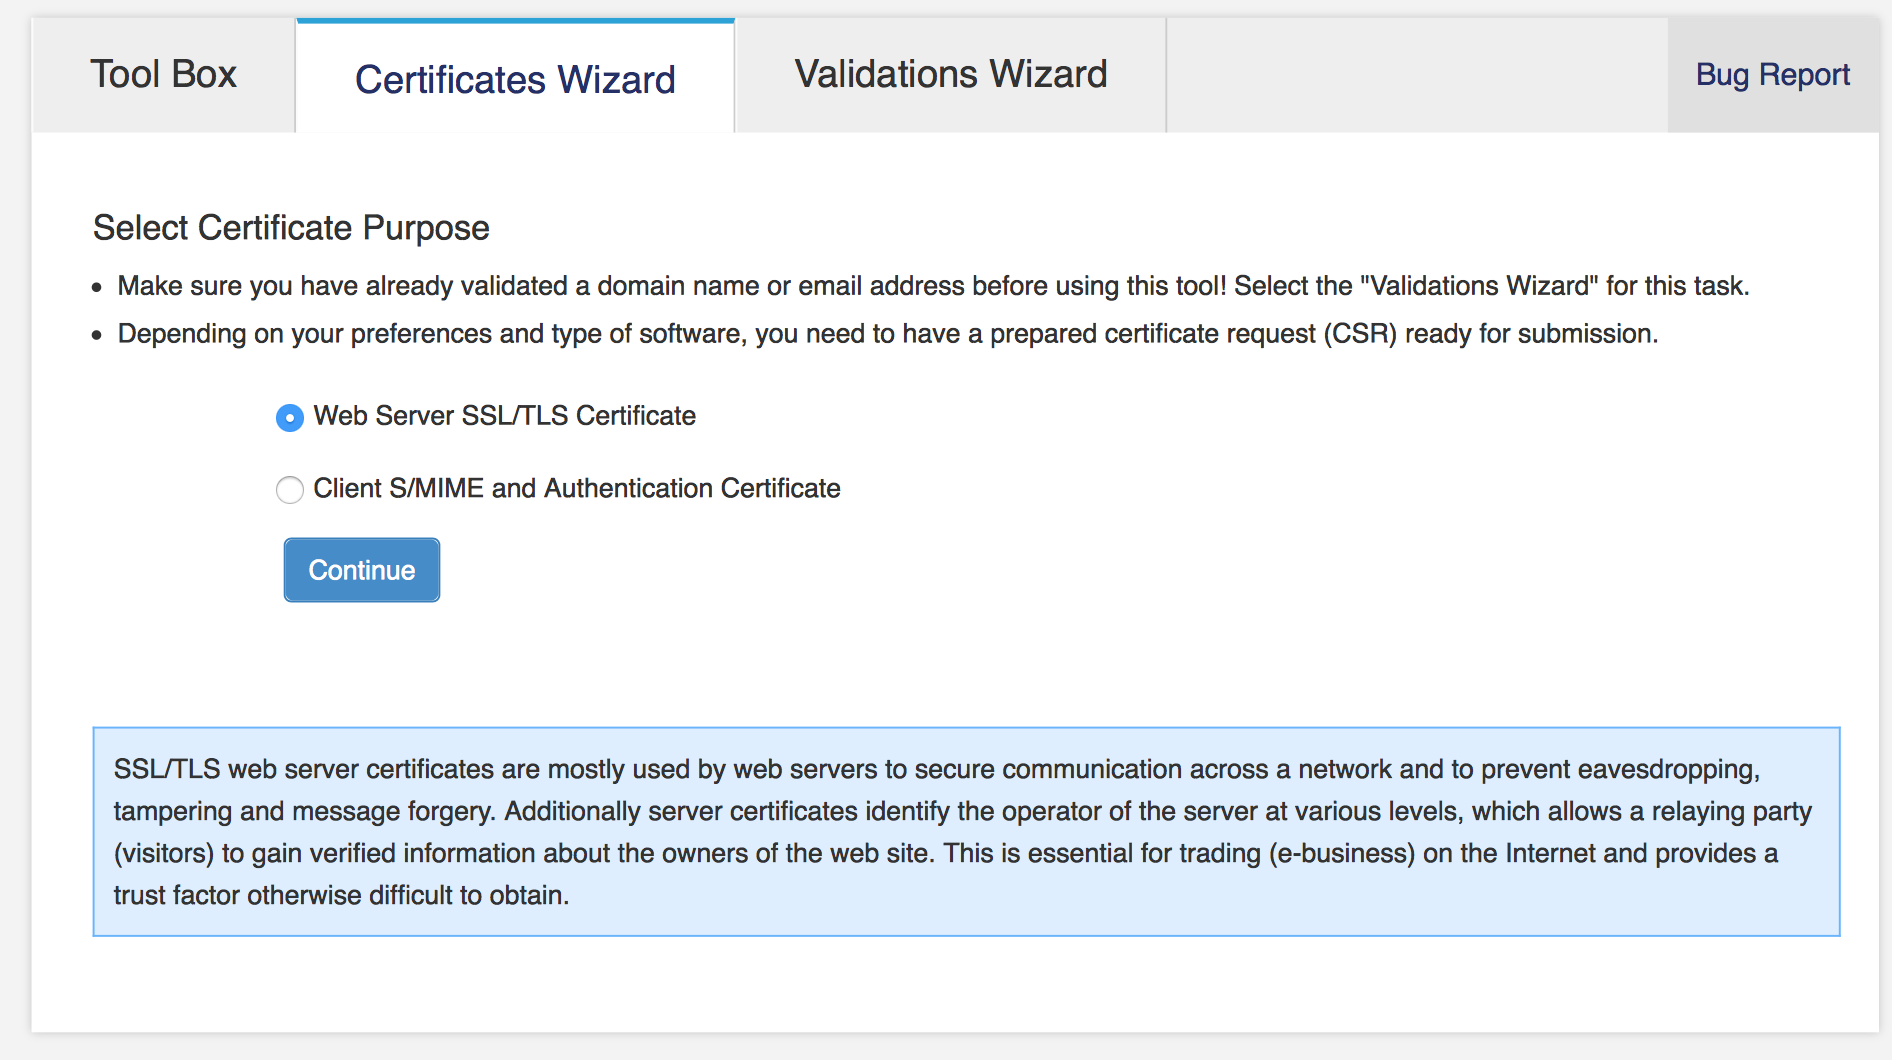
Go to the certificate wizard and choose Web Server SSL/TLS Certificate.
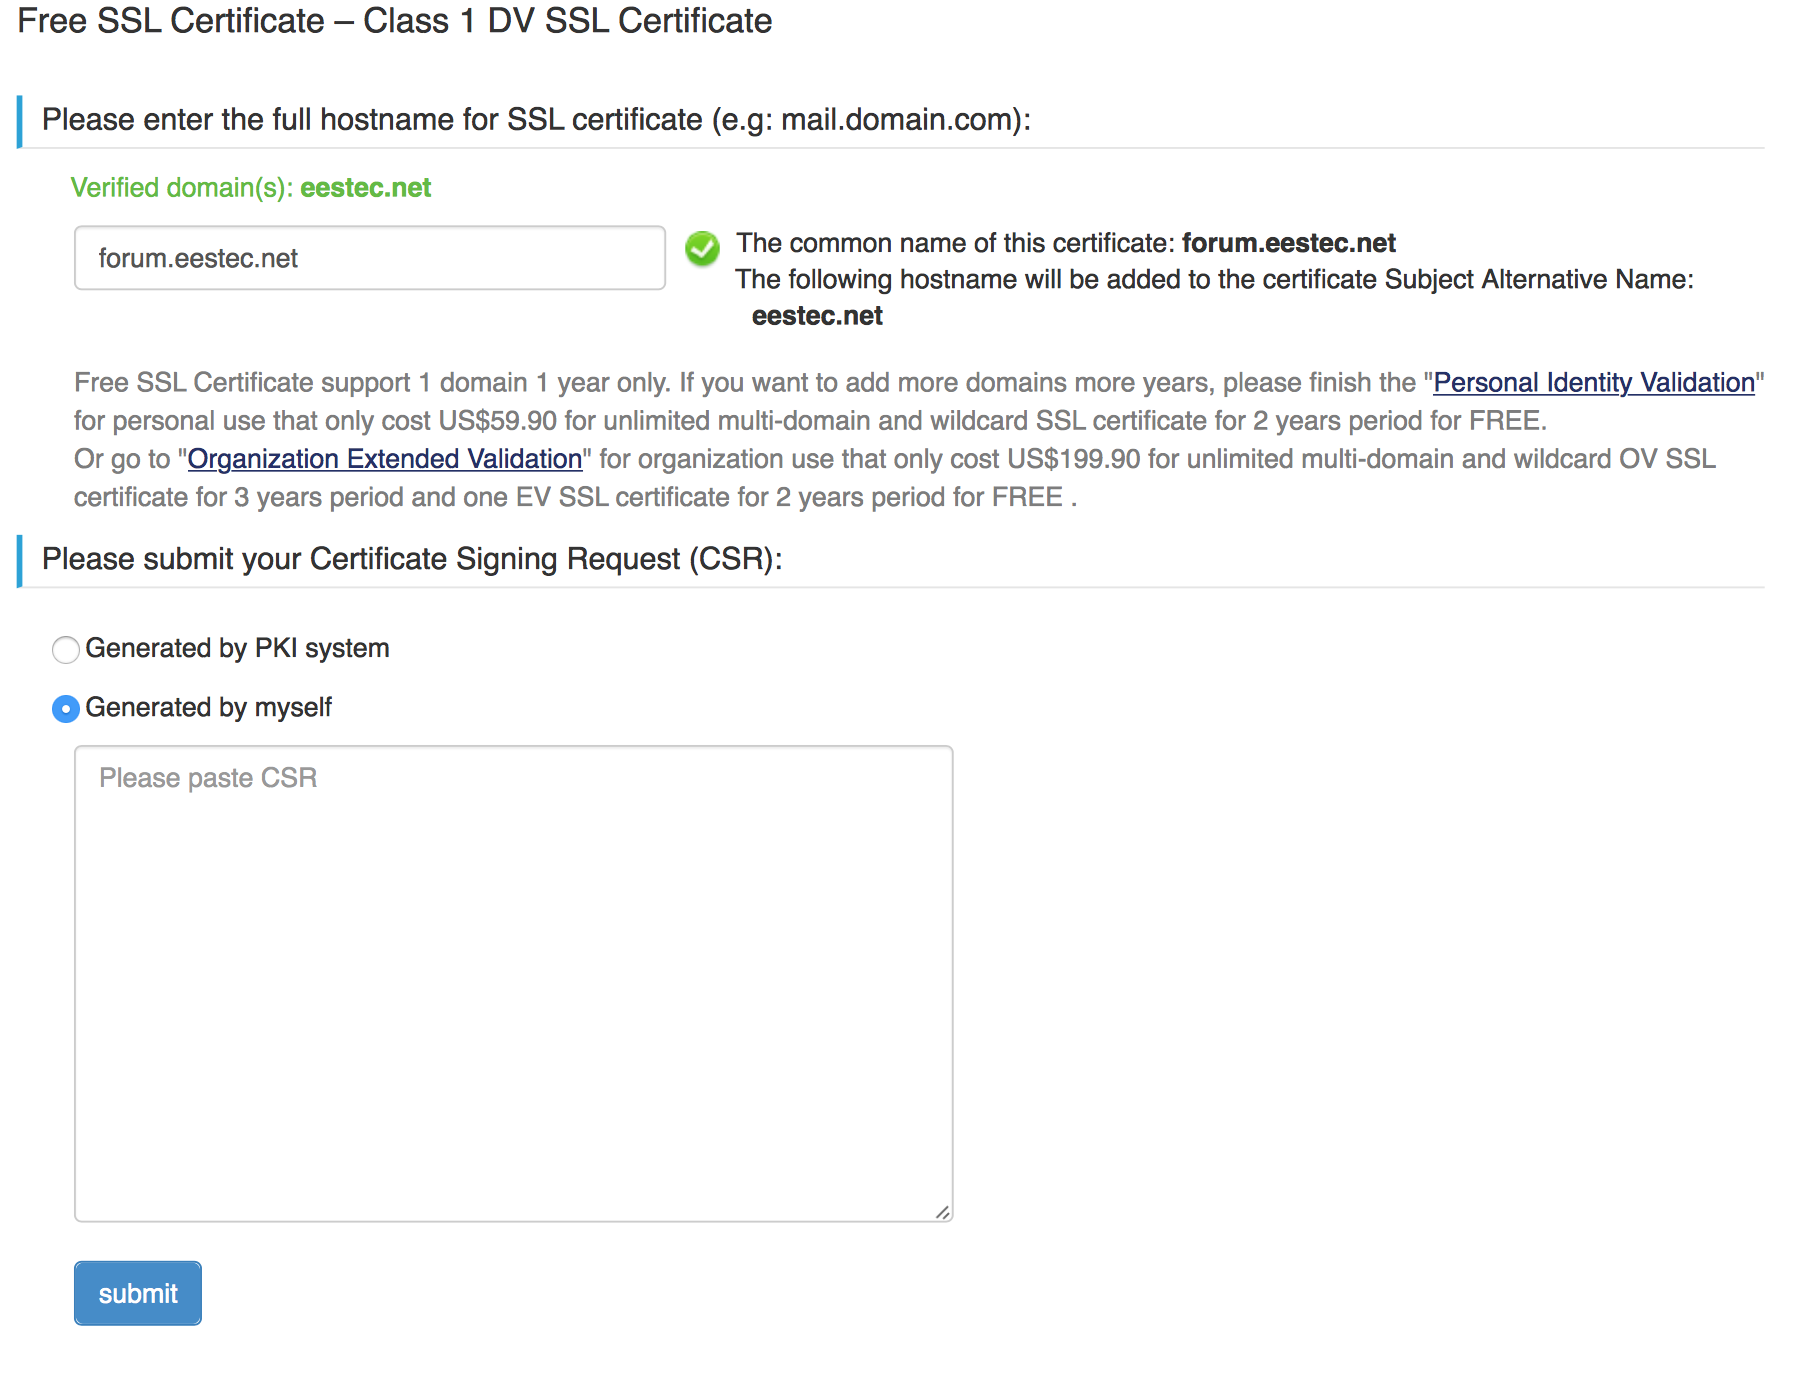
In the next step, insert the domain and choose Generated by myself
If you are requested to verify your domain, do that.
# cat example.com.csr
and copy/paste the content to StartSSL, including BEGIN AND END LINES!.
Now you can download your cert. Sometimes you have to wait up to 3 hours for it to be ready.
Preparing for putting the cert up
Upload the cert you got in the previous step to the server. /root dir is ok.
Now you have to decrypt the previously generated SSL key (otherwise the password will be needed after each server reboot). Of course, use the password set up before.
# openssl rsa -in yourwebsite.key.enc -out yourwebsite.com.key
Since the redesigned version of the startssl website, they provide you the intermediate certificate and along with your key cert.
If you take the ‘nginx version’ of the certificate, please note that private key cert and intermediate cert are already chained. The name should be something like 1_yourwebsite.com_bundle.crt. You can already rename this like yourwebsite.com.crt and put it in the /etc/nginx/ssl/ dir. This file will be the one pointed by ssl_certificate entry in nginx conf file for yourwebsite.com domain.
In case you need to chain the cert by hand, here you go. For Nginx we have to concatenate the StartSSL intermediate cert with our own certificate.
# cat 2_yourwebsite.com.crt 1__Intermediate.crt > yourwebsite.com.crt

(if it was in pem format, is would be
# cat example.com.pem sub.class1.server.sha2.ca.pem > example.com_chain.pem)
Deploying
Be careful: As stated in the nginx SSL documentation, in the website config file, the server certificate line has to be inserted BEFORE the one with the key.
ssl_certificate /etc/nginx/ssl/example.com.crt; <--- the chained one!
ssl_certificate_key /etc/nginx/ssl/example.com.key; <--- the actual key (unencrypted)!
It’s best practice to put certificates into /etc/nginx/ssl/ dir. So put them into this folder. If you want to, you can move old ones in /etc/nginx/ssl/old.
Important: check permissions and ownership
In /etc/nginx/ssl, .key, .key.enc and .crt files must have permission 400 and be owned by root:root.
The folder itself must have drwxr-xr-x perms and be owned by root:root.
dhparam.pem (dh4096.pem) also must be 400.
Finishing
Now just restart nginx to start using new cert and key.
# service nginx restart
Important: Remember to delete temp files you put in /root to avoid security treats.
Done!
Thanks for reading.